Pages

Tuesday, July 17, 2012

Curious (Transformation)

I love taking apart old LOs and giving the photos an update; especially if I can combine two LOs into one. Space is at a premium around here!

I probably did these two LOs in 2009ish.
I saved the "curious" tiles from this LO.

I saved the trims, grommet, and background paper.

The hidden beauty of glue sticks. I'm glad that I used them once upon a time! It makes saving photos and crafting elements very easy. In fact, I'm thinking about a return to glue sticks for just my photos... just in case... The above piece is from MME and has survived to be used for another project.

The Update
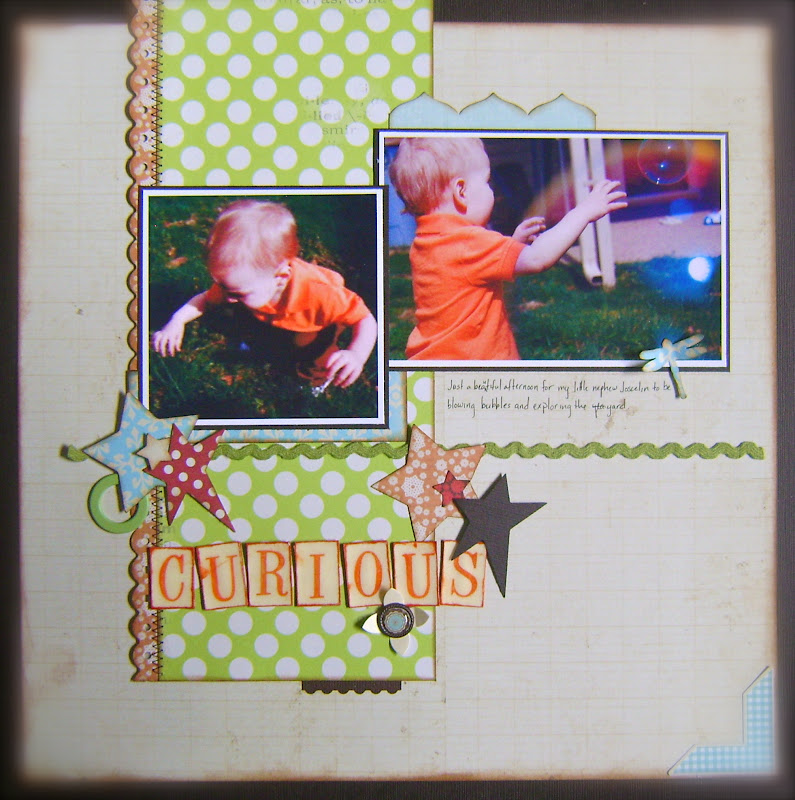
I followed a sketch from Artful Delight. This is the second time I've used one of their LO sketches and I have been tremendously pleased with the results both times! Papers are from Stationery, Lovely, and Catching Fall by Lily Bee Design.

The rescued grommet and green ric rac. I used a variety of punches for the stars. All paper edges are inked with Vintage Photo Distress Ink.

I had a regular habit of scraplifting from LOs published in Memory Makers and Scrapbooks, Etc. I'm sure I saw this letter tile idea in Scrapbooks, Etc and I still like the concept. I used dye ink to stamp the letters, cut, and inked the edges. I fitted the cut out letters to thin pieces of chipboard and topped with Glossy Accents.

A punched dragonfly. Martha Stewart punch, I think. Would you believe I'm too lazy to walk 12 feet back to my table just to make sure? I can run eight miles and I'm training for a half marathon but I can't walk 12 feet.

This fun border is a leftover from a previous project; from a Spellbinders border die. I love leftovers. In fact, it's about time to eat leftovers! Cauliflower Casserole, which is based on a Tater Tot Casserole recipe. I replaced the tots with the white veggie...

What do you think of the update? What are you eating for dinner tonight?

CHALLENGES:
Paper Secrets- July Blog Brand Challenge- Lily Bee
Artful Delight- Sketch Challenge

Monday, July 16, 2012

Snickerdoodle Coffee Cake

Jenifer and I were talking our usual trash with our foul language online last night when I came across a rather tasty photo on Pinterest for Snickerdoodle Blondies- a gooey, brown sugary sweet bar of nirvana. I posted a link for her and ditched our conversation for the kitchen. She was all "WTH? We're talkin' here?!!"

Not to worry. I'm a good friend so I returned a few minutes later... Didn't have any eggs!!! So, we resumed our conversation while I researched egg substitutes. I loved the one source that suggested using frozen eggs in place of eggs. Um. *eyeroll* Good sources and information about the egg problem here. I love bananas and considered using them but decided on the 1 egg equals 2 tbsp cornstarch plus 2 tbsp water.

Ran back to the kitchen to compile my ingredients, ready to tinkle on myself over all my excitement. I guess I like brown sugar?

Then, I came running back to the computer and to Jenifer. I'm sure she was a little tired at this point LOL. Turns out, I only had 1 stick (half cup) of unsalted butter. After more googling around, I decided to try replacing the 1 cup of butter in the recipe with 1 stick of softened-in-the-microwave unsalted butter and 1 6 oz container of store brand vanilla flavored Greek yogurt. I also cut back the brown sugar a wee bit. Like a half cup. I ran out... You raise an eyebrow? Stay with me...

I did not end up with a gooey likeness in the picture I drooled over. I did end up what I'm gonna call...

Snickerdoodle Coffee Cake

My Recipe

2 2/3 cups flour
2 teaspoons baking powder
1 teaspoon salt

4 Tablespoons cornstarch + 4 Tablespoons water (or two eggs)
1 1/2 cups packed brown sugar
1 stick unsalted butter, zapped in the microwave
1 6 oz container vanilla Greek yogurt
1 Tablespoon vanilla
2 Tablespoons white sugar (i used Splenda)
2 teaspoons ground cinnamon

1. Preheat oven to 350 degrees. Lightly grease a 9 x 13 inch baking pan.

2. In a medium bowl, whisk together the flour, baking powder and salt. Set aside.

3. In a large electric mixing bowl, beat together the butter, cornstarch, water, brown sugar, yogurt, and vanilla until smooth. Gradually add the flour mixture to the sugar mixture and beat until well blended.

4. Spread the batter evenly in the prepared pan.

5. In a small bowl, combine the white sugar and cinnamon.

6. Sprinkle the mixture evenly over the batter in the baking pan.

7. Bake for 25 - 30 minutes or until the surface springs back when gently pressed. Remove from oven and let cool for about 10 minutes. While still warm, cut into squares and enjoy! Store in an air tight container.

Jenifer is the one who encouraged me to start blogging a bit about my kitchen adventures. When I'm browsing online recipes, I love to read the feedback and variations in the comments section. So, if you try this, come back and tell us what you think!

Thursday, July 12, 2012

Just Thinking About You

Followed the July Sketch from Artful Delight. Cardstock from my stash; a variety of Kraft, yellow, and brown.


This flourish of butterflies is from Wings of Hope by Heartfelt Creations.

I colored the butterflies with Prismacolor pencils.

SUPPLIES:
HCPC 3479 Wings of Hope PreCut Set
HCPC 3474 Heartfelt Expressions PreCut Set


OTHER:
Kraft, yellow, and brown cardstock. Archival black ink. Wild Honey and Vintage Photo Distress Inks. Diamond Stickles. Prismacolor pencils. Twine. Micron black pen. Spellbinders Oval dies. Spellbinder Scalloped Oval dies. Bling.

Wednesday, July 11, 2012

Beautiful Day *Heartfelt Creations*

I gotta say: I never get tired of Heartfelt Creations stamps. They are just. so. beautiful. I used an assortment of Riddersholm, The Paper Studio, and Prima papers for this card.

This image is from the Broken Cinder Blocks set. I treated the brick wall like a timeless, shabby chic garden wall. I initially thought the bricks would be white but I ended up going with a cream color, like the paint is wearing away. At least, I tried.

These days, I like to color my image to match the papers. I lay the image on top of one of the papers and color away.

These are the Prismacolor pencils I used.

A Tattered Blossoms flower. I stamps the flowers on one of the pink papers from the Riddersholm collection. The center is textured with glitter.


SUPPLIES:
HCPC 3474 Heartfelt Expression PreCut Set
HPCP 3470 Broken Cinder Blocks PreCut Set
HPCP 3468 Tattered Blossoms PreCut Set
HCD 722 Tattered Blossoms Die
393386 Spellbinders Labels 4
Prismacolor Pencil Set 120 pc.
459222 Paper Blossoms Tool Kit


OTHER:
Papers from Prima, The Paper Studio, and Riddersholm. Fiskars border punch. Pebbles chalk. Ribbon. Archival black ink. Cuttlebug. Glitter. Vintage Photo Distress Ink. Odorless Mineral Spirits. Textured cardstock: browns, green, pink, and white.


INSTRUCTIONS:

1. Card is 6x6 inches. Choose four patterned papers.
2. Stamp the Broken Cinder Blocks image on cardstock and color to match patterned papers. Cut/emboss with largest, Labels 4 Spellbinders die.
3. Cut a piece from patterned paper for the background. Cut 2 wide pieces for the horizontal center. Cut 4" square for the center of the card. Ink the edges of all four patterned paper pieces. Mat to coordinating cardstock and adhere.
4. Attach ribbon. Use foam dots to attach the stamped image. Add a bow. Add a decorative punched trim to the bottom of the card.
5. Stamp and cut Heartfelt Expressions on white cardstock. Ink the edges, mat, and attach.
6. Stamp and cut Tattered Blossoms on pink paper. Die cut and shape into a tattered style flower. Finish flower with glitter in the center. Attach by the bow.


CARD BASE: Cut a 6x12 inch piece of thick, white cardstock. Score at 6 inches. Attach the card front to the base.

Sunday, July 8, 2012

chipmunk chance

I was thrilled how quickly I put this together this morning. I was in a hurry to take pictures and whatnot. I got it all on my blog and decided it was BORING. 
So, from this ^

to this 
Followed an awesome sketch from Boys Rule.  The papers are from Gathering by Authentique. I pulled all that I had off my shelves but ended up only using the scraps!

I love the banner idea on the sketch. I just punched a couple of circles, cut them in half, and inked with Vintage Photo. My sewing machine needs therapy so I used rub on stitches from DCWV.

I had these die cut hexagons left over from a previous project so I added them to this LO. Fun! This is one current trend that I really like! I foam dotted a few of them and inked all the edges. "Snapshots" is a sticker from This and That Charming by Echo Park.

Technically, this star doesn't match but I like it anyway. It was RAKed to me by Jenifer. The banner sticker is from Simple Stories.

The journaling sticker is from October Afternoon, Farm Fresh I think. This LO is about the time I was away for a few days and my boys were alone. My husband made cinnamon rolls (and then probably fell asleep on the couch but denies it), and he later discovered this plate full of rolls with the sweet tops chewed off! LOL He took a picture with his phone and sent it to me. It made me smile all over my face!

"Chipmunk" letters are by Authentique. The "chance" chipboard was RAKed to me by Jenifer, as well. Perfect since my little guy's name is Chance!

Thanks for stopping by!

CHALLENGES:
Boys Rule- Sketch
Authentique- June Inspiration Color Challenge
Paper Secrets- July Stash Challenge

Friday, July 6, 2012

Wedding Card *Scrap That! Summer In My Garden July Kit*

A wedding card with a garden theme to match the recipe album!

Come over and check out my Garden Themed Card Challenge!

I was seriously runnin' outta paper by the time I made this card. It is a 5x5 inch card and 
I knew that green striped paper would get covered up...

Layering some decorative borders. This border punch is by EK Success.

Trimming the excess.

Starting to look nice and neat.

Cut apart some lace and attached with Glossy Accents.

Found this romantic digital image from keziacarter.wordpress.com. I altered the color in iPhoto.

Cut this large bloom in half.

Cut the leaf apart. Gotta stretch the supplies!

Still have some of that large, blue flower left. Can you see the bits of the one leaf in two places? Everything on this card is from the MAIN KIT except for the digital stamp. 
And, of course, the obvious use of tools...


Love this button!

Isn't this paper from Organic by FabScraps totally yummy?!!

Thanks for stopping by!

Thursday, July 5, 2012

recipe album *Scrap That! Summer In My Garden July Kit*

Last month, I needed a gift for my childhood BFF and my ScrapThat! kit totally saved the day. This month, I needed a gift for my cousin who recently got hitched
 and, once again, ScrapThat! totally saved the day!

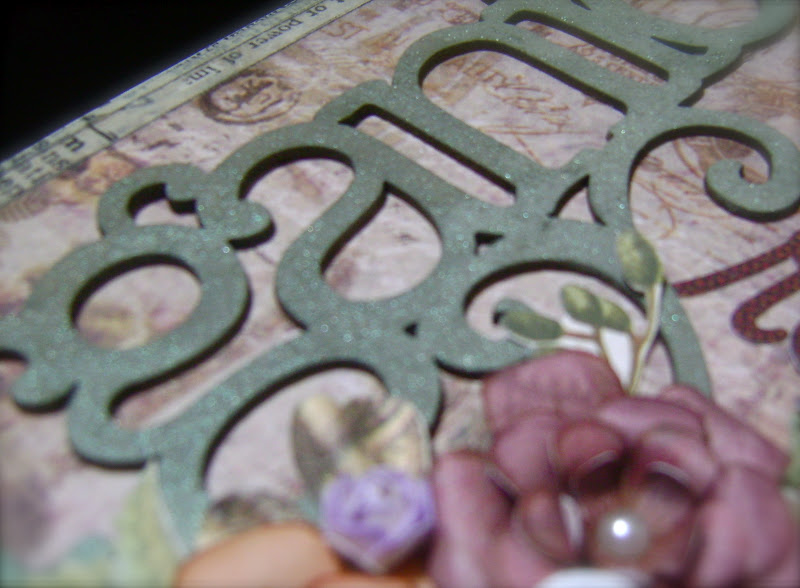
This kit "Summer In My Garden" features Organic by FabScraps. Ding Ding Ding! Recipe album!

"Organic", the pearls, and white rose are from the kit. I also handmade some flowers from the papers in the kit. The teeny purple roses and neutral colored flowers are from my stash. The bird is by K and Company. The letter stickers are from Mellow by Basic Grey. The large eyelet is by WRMK. The brown ribbon is American Crafts.

This butterfly is by K and Company.

I used the Ingvild Bolme chalk ink from the kit to give this chipboard some color. 
Accented with Wheatfields Glimmer Mist.

The closure.

The back. The tape is by Tim Holtz.

First glance at the inside. I thought she'd like to see a picture from her wedding in this album.

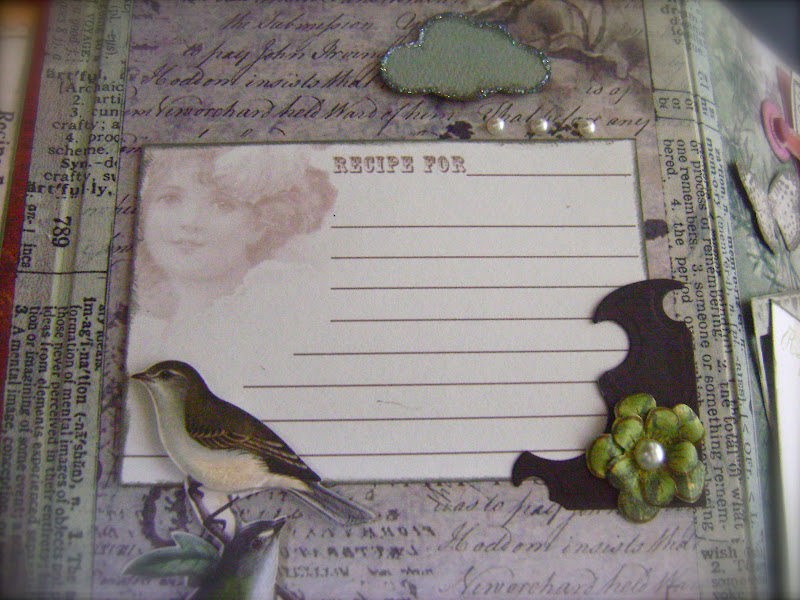
All of the recipe cards can be removed. The card on the right is in the kit.

The white lace is from the kit. I trimmed it for a different shape. The birds are by K and Company. The cloud punch shape is Fiskars.

Cut from a Cuttlebug die. Love all the pearls in the kit! They are by Melissa Frances. 
The decorative edge is Fiskars.

I found the recipe cards at Sweetly Scrapped.

"Apple of My Eye" is Stampin' Up. My cousin will be able to move the anchor and write her own notes about the recipes (like changes she makes). These extra little cards for her own notes are available with each recipe card in the album.


A stamped, romantic couple serving as the corner holder on this page.


Thanks for stopping by!