Pages

Monday, December 31, 2012

Snow

I was inspired by this totally fun decorative piece by Lisa. I don't have the same dies so I really had to poke and experiment to create a look I wanted. I chose papers from Winter Park by Echo Park. I've really exhausted that collection this year!

The background piece is a random piece of chipboard from my stash. The foam snowflake is from Paper Studio by Hobby Lobby and the sticker trees are from EP Winter Park. I cut the snowman from Gypsy Wanderings and topped with Ice Stickles. "Snow" is also cut from Gypsy Wanderings but the swirly accent is from Picturesque. The partial snowflake layer piece is from Gypsy Wanderings and the poinsettia and leaf shapes are from Picturesque. The pearl brad is by MME.

On the bottom. I wrapped the toilet paper roll with twine from the jewelry section at Jo-Ann's.

Thanks for stopping by!

Sunday, December 30, 2012

you're sew nice

I decided to make Thank You cards for xmas gifts this year. Let's see if I mail them next week... I was inspired by this sewing themed card by Deb Felts. How adorable! I used paper from Very Merry by October Afternoon. The stamps are both from Sew Artsy by Hero Arts. I love how Elaine stamped the sewing machine on patterned paper and I was delighted to do the same! The pearls are from Melissa Frances. The heart stick pin is from Little Yellow Bicycle, I think. The button, twine, and ribbon are from my stash.


Thanks for stopping by!

Saturday, December 29, 2012

Spring Flowers

I'm enjoying winter very much right so I'm not yearning for spring. However, I simply fell in love with this spring thing cutie by Shirley

1. I followed the link to Brenda's blog for the butterfly box template and printed it on regular printer paper. Then, I traced it onto cardstock from A Walk In the Park by Echo Park and cut by hand.

2. After assembling the box, I chose a flower shape from the Plantin Schoolbook Cartridge and cut them with my Cricut Expression.

3. I found straws in my kitchen for the stems. I used a pencil to pre-curl half inch strips of green cardstock and then wrapped the straws. I used filler paper from Michael's to help arrange the flowers in the box.

4. Once again, Plantin Schoolbook came in handy for the butterfly cuts. The top, orange print butterfly is fussy cut from EP paper.

Thanks for stopping by!

Thursday, December 20, 2012

Girl by the Sea

I poked at this card for about 3 weeks. It needs a sentiment... The papers are from Spring Jubilee by Pink Paislee and the stamp is from Summer By the Sea by Stampin' Up. I colored the image with Prismacolor pencils and blended with the Prismacolor marker blender.

Thanks for stopping by!

Tuesday, December 18, 2012

Peace Tags

I'm not usually into making tags but couldn't resist when I saw these cuties by Jen Shults. I cut all the tag shapes from Cricut Craft Room Basics. The polka dot paper is from Hot Chocolate by Fancy Pants. The "to/from" stamp is Stampin' Up and the "Peace" sentiment is from a Recollections cling set by Michael's. I used Diamond Stickles (my absolute favorite) on the banner pieces.

Thanks for stopping by!

Sunday, December 16, 2012

Wall Decor

I finished my term for Heartfelt Creations but you better believe I still love their products! Of course, I miss the lovely ladies over there and am still stalking the weekly Wednesday posts of inspiration, which is how I found this beauty by Angelica Turner. I wanted one for my house!


The Classic Editions Collection goes great with the decor in my house. The background die cut is from Accent Essentials. The sentiments are HC unless otherwise noted below.

The sentiment is HC. The flower is Prima and I fussy cut the poinsettias from HC's Frosty Blanket paper.

Look! I made a flower from the Posy Patch stamps and dies by HC. I used Glimmer Mist to add color. I love those leaves from the Vintage Floret Collection.

The lamp post die is from Ornamental Light.

I made this flower with the Rose Creations stamps and dies. The scroll die cut is from the Decorative Chateau Gate die. The sentiment is Cloud 9 Designs.

The yellow flower was stamped and die cut with the Daisy Patch collection. The gate is from Martha Stewart.

The yellow flower was made with Tattered Florals stamps and dies, colored with Glimmer Mists and Distress Inks. I think the stick pin is LYB. The rose is Prima. The ribbon is American Crafts and the film is Tim Holtz. The sentiment is by Cloud 9 Designs.

These two flowers were made with HC products. I used Diamond Stickles on all the cards.

Thanks for stopping by!

Wednesday, October 31, 2012

warm and cozy *Heartfelt Creations* and *SOUS*

I love this lamp post! Papers are from Wassail by Basic Grey.

The sentiment is from the Yuletide Sentiments PreCut Set. The metal pin is by Tim Holtz and the ribbon is from Michael's.

I used Versamark ink and P.K. Glitz embossing powder with the Holiday Haven flourish stamp.

I was inspired by fellow DT member Marisa for coloring this light.

I used Loew-Cornell pencils to color this lamp. I still love the raw look of these pencils!

Thanks for stopping by!

Be sure to visit the 
for more inspiration.


SUPPLIES:
HCPC 3491 Holiday Haven PreCut Set
HCPC 3488 Decorative Metal Fixtures PreCut Set
HCPC 3493 Yuletide Sentiments PreCut Set
HCD 725 Decorative Metal Fixtures Die
354803 Scallop Oval Large
HCD 716 Layered Elegant Swirl Die

OTHER:
Wassail paper by Basic Grey. Versamark embossing ink. Honeycomb embossing powder by P.K. Glitz. Loew-Cornell pencils. Ribbon. Tim Holtz metal pin. Micron pen. Gold bling. Vintage Photo Distress Ink by Tim Holtz. Archival black ink. Foam adhesive.

INSTRUCTIONS:
Cut, ink, and mat a background paper from the Wassail collection to fit a 4.5 by 6 inch card. Die cut two Layered Elegant Swirls from white paper in the Wassail collection. Adhere to card front. Cut a strip of brown cardstock to fit through the middle of the card and layer with ribbon. Stamp and heat emboss the Holiday Haven flourish stamp on tan paper from the Wassail collection. Attach to card front. Die cut and edge emboss with the Scallop Oval. Attach to card front and layer with a bow. Stamp, color, and die the Decorative Metal Fixtures. Attach with foam adhesive. Stamp and trim the Yuletide Sentiment. Insert the metal pin through the bow and finish with the sentiment. Attach the card front to the 4.5 by 6 inch card base.

Wednesday, October 24, 2012

My Wish for You *Heartfelt Creations*


SUPPLIES:
HCPC 3498 Delicate Aster Vase PreCut Set
HCPC 3497 Script Aster Background PreCut Set
HCDP1 226 Delicate Asters Paper Collection
SF03602 Prismacolor Pencil 120 pc.

OTHER:
Archival black ink. Versamagic black chalk ink. Vintage Photo Distress Ink. Ribbon. Twine. Charm.

INSTRUCTIONS:
Stamp, color, die cut, and mat the Delicate Aster Vase. Set aside. Stamp, trim, ink, and mat the sentiment. Set aside. Cut, ink, and mat a purple background paper for a 6 x 6 card. Cut, ink, and mat a 2.75 inch piece for the center. Adhere to background. Attach a length of white ribbon. Layer on the sentiment and vase. Finish with a bow and use twine to attach a charm. Glue the card front to a white, 6x6 inch base.

Wednesday, October 17, 2012

Happy Birthday *Heartfelt Creations*

I do love the flowers and pink in this new Vintage Floret collection by Heartfelt Creations! All papers, stamps, and dies are from Heartfelt Creations.

I was inspired by this sketch for today's card. Come and join our challenge at SOUS!

I stamped the flowers with Versamark ink and heat embossed with glittery powder.

Love the typography in this set!

Thanks for stopping by!

Be sure to visit the Heartfelt Creations Blog for more inspiration!


SUPPLIES:
HCPC 3504 Bold Vintage Floret Background PreCut Set
HCPC 3502 Mini Vintage Floret PreCut Set
HCD 727 Vintage Floret Die
HCD 710 Decorative Oval Window Die
354802 Classic Oval Large
HCDP1 227 Vintage Floret Paper Collection

OTHER:
Archival black ink. Vintage Photo and Victorian Velvet Distress Inks by Tim Holtz. Versamark ink. Gliter embossing powder and heat gun. Ribbon. White American Crafts cardstock for the base.

INSTRUCTIONS:
Cut, ink, and mat the green background paper to fit a 6x6 inch card. Cut, ink the edges, and mat the pink patterned paper to fit through the center. Attach a stretch of ribbon across the center. Die cut the Decorative Oval Window from blue cardstock and adhere to the center. With Archival black ink: stamp the Bold Vintage Floret Background, die cut and ink the edges. Set aside. Stamp again with Versamark and heat emboss with glitter. Layer the heat embossed flowers on the oval piece. Stamp the leaves in green and die cut. Arrange and glue with the flowers. Attach the oval piece over the window. Stamp, trim, ink, and mat the sentiment. Add a decorative corner and attach the piece to the card front. Tie and glue on a bow. Attach the card front to a 6x6 inch base.

Wednesday, October 10, 2012

Vintage Flower Pot *Heartfelt Creations*

The Vintage Floret release is a beautiful collection of ancient luxury. This month’s paper release is similar to the wallpaper of a quaint Parisian café. The textured flower stamps add a quiet delicacy to every project. The typography is a delightful combination of botanical growth and grandmother’s old typewriter stored away in the attic.
There are 5 new PreCut Stamp Sets, one 12x12 Paper Collection, and one beautiful new exclusive Spellbinders die designed for Heartfelt Creations. Leave a comment on the HC blog by 
October 16th and you will be eligible to 
win the entire release 
valued at $134.93. 


I love flower pots! I only wish my yard was full of flower pots. But, until I grow a green thumb, I will have to be satisfied with coloring them. 

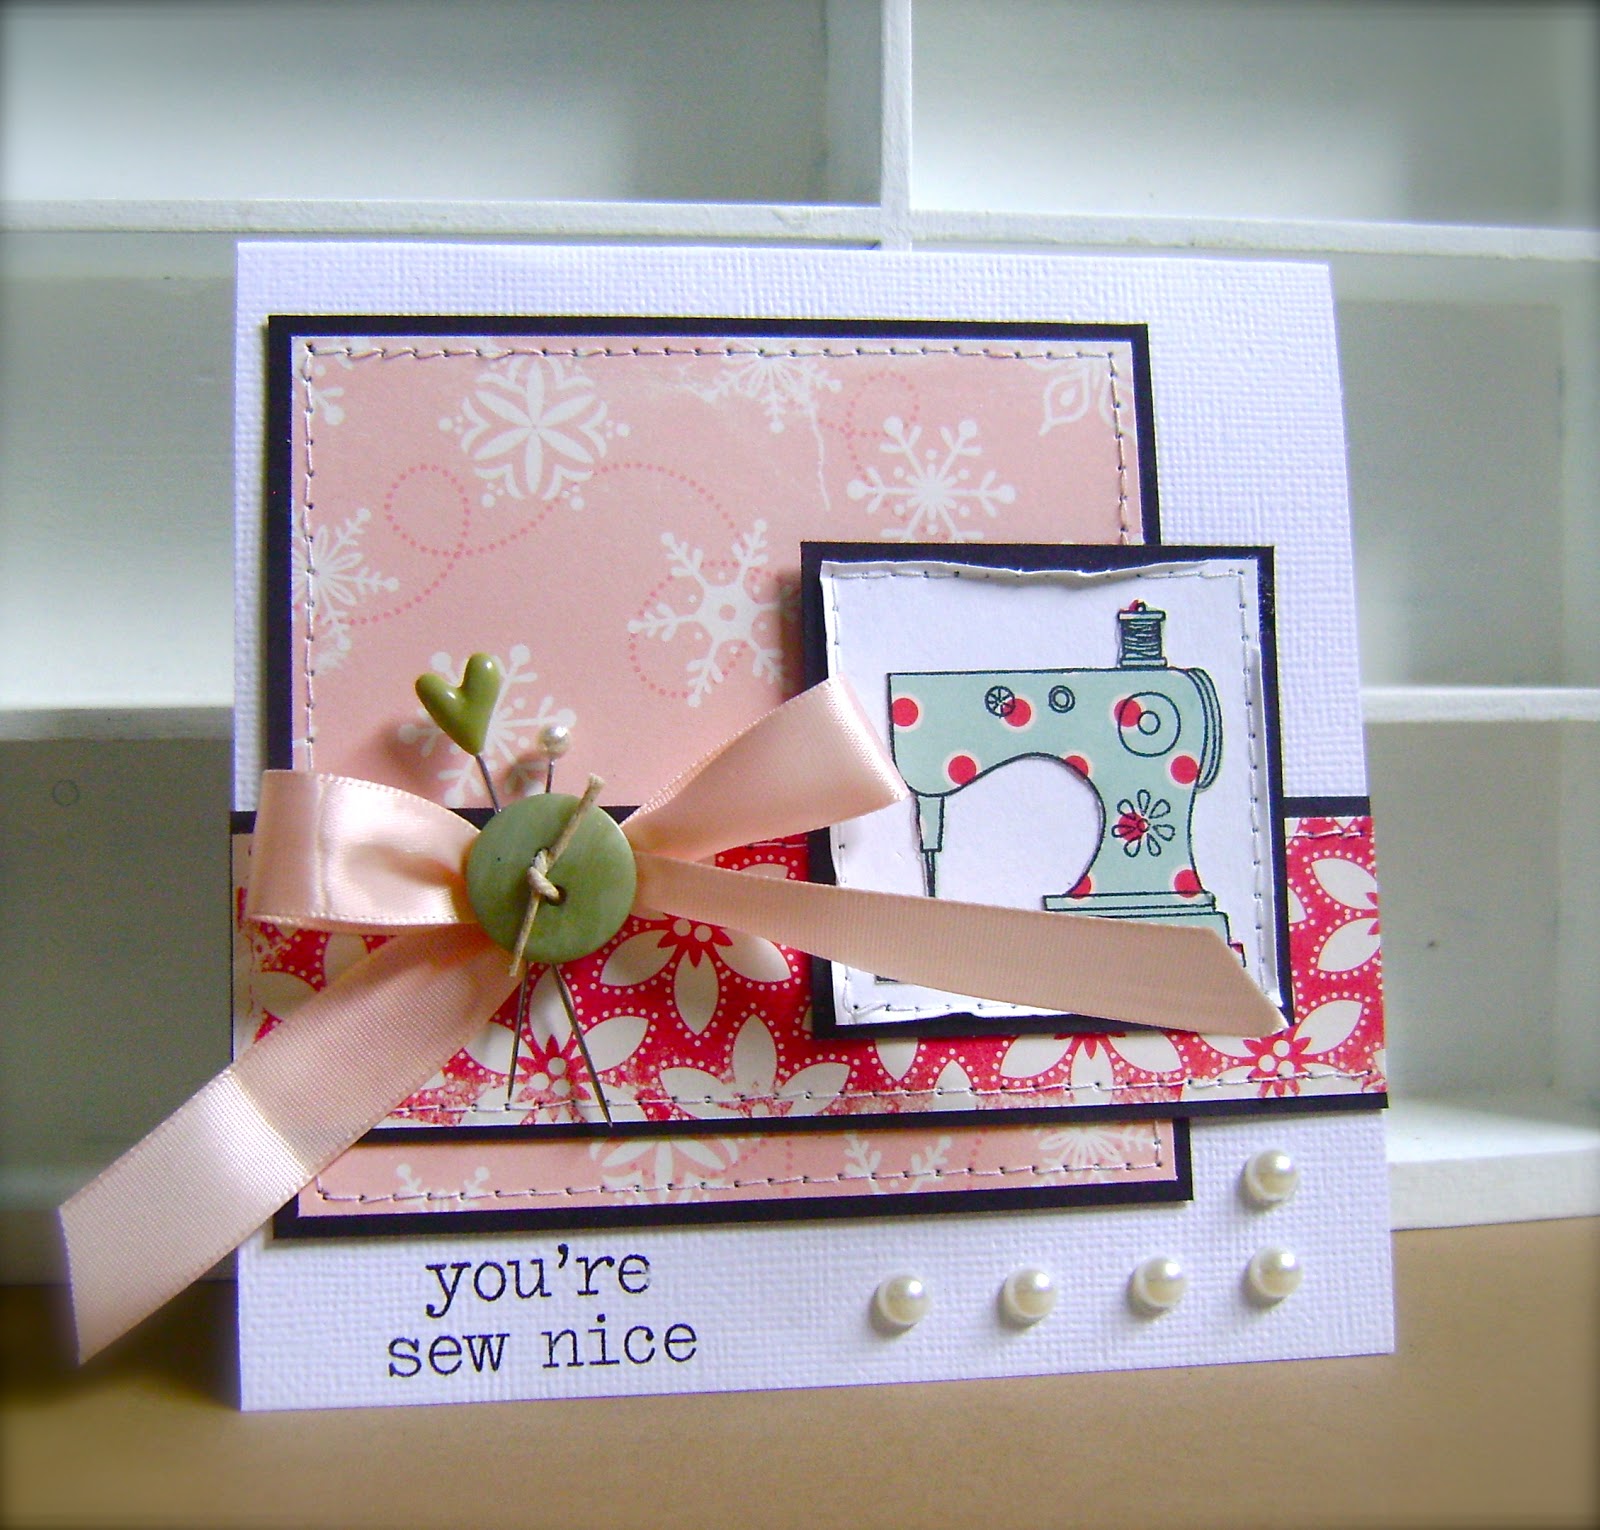
I colored this image with Prismacolor pencils and blended with the Prismacolor Colorless Blender. The corners of the image piece is stamped with Tattered Collage. I used Versamark ink and topped with brown shimmer chalk by Pebbles.

I used Archival black ink to stamp these flowers. After die cutting, I sprayed them with Creme de Rouge Glimmer mist and inked the edges with Victorian Velvet Distress Ink.


Thanks for stopping by!


SUPPLIES:
HCPC 3502 Mini Vintage Floret PreCut Set
HCPC 3500 Open Vintage Floret PreCut Set
HCPC 3503 Vintage Floret PreCut Set
HCPC 3471 Tattered Collage PreCut Set
HCD 727 Vintage Floret Die
HCDP1 227 Vintage Foret Paper Collection
SF03602 Prismacolor Pencil Set 120 pc.

OTHER:
Inks: Archival black; Vintage Photo, Victorian Velvet and Forest Moss Distress Inks by Tim Holtz; Versamark. Creme de Rouge Glimmer Mist. Pebbles Shimmer Chalk. Fiskars border punch. EK Success corner punch. White lace. Bling and brads. White ribbon. Sewing machine. Prismacolor blender pencil. White cardstock for base.

INSTRUCTIONS:
Stamp, trim, and color the Vintage Floret image. Ink the image and mat. Set aside. Stamp and die cut the flowers and leaves. Glimmer Mist the flowers, let dry and then ink the edges with Victorian Velvet. Layer and fix with brads/gems. Set aside. Cut, ink the edges, and mat a pink background paper to fit a 6x6 inch square card. Set aside. Cut, ink, and mat a complementary piece to fit the center of the card. Machine stitch the background, center piece, and stamped piece. Layer a punched border to the bottom of the center piece. Adhere to the card front. Attach the lace to the center piece and top with the stamped piece. Arrange and glue the flowers to the corner. Punch a corner piece and attach to top right corner of stamped piece. Add a bow and top the flowers with gems. Adhere the card front to a 6x6 inch card base.

Sunday, September 30, 2012

Altered Paper Roll *Heartfelt Creations*

A couple of weeks ago, I made this oversized spool from a toilet paper roll for Heartfelt Creations.

I NEEDED a purple one. And I NEEDED to play with the latest release Delicate Asters.
All of the papers and stamps are from the Delicate Asters Collection. 
The fun trim is from Hobby Lobby.

How pretty is this Aster? I'm kind of a dummy when it comes to making flowers but this came together so easily! I used Concord Grape Distress Ink to stamp the Asters. After I layered the pieces, I used Stickles for sparkle. I love the leaf stamp/die that comes with this collection as well!


I used the Script Aster Background on the one inch circle. The pink flower was made from the Posy Patch flowers and dies.

Thanks for stopping by!

Wednesday, September 26, 2012

Tea for Two *Heartfelt Creations*

A fun decor piece. I was inspired by Pojjo's project. The paper is from Ladies Diary by Graphic 45.

The top is a layer of K and Company chipboard, punched circles, and a rose punched from G45 patterned paper.


Thanks for stopping by!
Check out the Heartfelt Creations Blog for more inspiration.


SUPPLIES:
HCPC 3472 China Fragments PreCut Set
204800 Nested Tea Cups Shapeabilities
354810 Classic Scallop Circle Large
SF03602 Prismacolor Pencil Set 120 pc.

OTHER:
Toilet paper roll. Paper from Ladies Diary by Graphic 45. Kaisercraft pearls. Cream colored tulle. Circle punches. Glimmer Mist. Chipboard from Wild Saffron by K and Company.

INSTRUCTIONS:
Wrap a toilet paper roll with G45 paper. Die cut a base with Classic Scallop Circle Large and attach the roll. Glue the K and Company chipboard to the top of the roll and layer with punched circles and finally the rose paper. Wrap the bottom of the spool with cream colored tulle and tie a bow. Stamp the China Fragments on white cardstock. Color and die cut. Layer the tea cups to the roll and finish with a spray of Glimmer Mist.

Wednesday, September 19, 2012

Joyful Christmas Greetings *Heartfelt Creations*

I have another CAS card for you today. This style is great if you lots and lots of holiday cards for friends and family. You could skip the stitching and make it even easier or try using a good pen and drawing a border. All of the stamps and paper are by Heartfelt Creations. 

I used this sketch for inspiration. The lines reminded of the wood grain in the Festive Yuletide Doorway stamp by Heartfelt Creations. Come over to Stuck On U Sketches and play with us!

I love using two colors of Distress Inks. Here, I used Vintage Photo and a bit of Barn Door on the sentiment.

A bit of Diamond Stickles (my favorite) here and there.

How about this sparkly trim?! I love holiday ribbon.

Thanks for stopping by!
Be sure to visit the Heartfelt Creations Blog 
today for more inspiration!


SUPPLIES:
HCPC 3489 Festive Yuletide Doorway PreCut Set
HCPC 3493 Yuletide Sentiments PreCut Set
HCDP1 225 Frosty Blanket Paper Collection
393386 Labels 4

OTHER:
Diamond Stickles. Vintage Photo and Barn Door Distress Inks. Archival Black Ink. Ribbon. Kraft cardstock. Sewing machine.

INSTRUCTIONS:
Cut, ink, and mat a background paper from the Frosty Blanket Collection to fit a 6x6 inch top fold card.  Machine stitch the edges. Cut, ink, and mat a 3 inch piece to fit across the middle. Machine stitch the edges and adhere to the background. Use Archival Black Ink to stamp the Festive Yuletide Doorway on Kraft cardstock. Trim the image, ink and mat to a solid color. Machine stitch the edges. Adhere to the card front. Attach a trim and bow. Stamp the sentiment on white cardstock and die cut with Labels 4. Use the die as a template for inking with Vintage Photo and Barn Door. Attach with foam adhesive. Finish the card front with Diamond Stickles. Attach the card front to a 6x6 top fold card base.

Wednesday, September 12, 2012

Quick Recovery *Heartfelt Creations New Release*

We are pleased to introduce the Delicate Asters Collection. You are creative! Show your friends with this unique Aster collection. With beautiful elegant petals and Monarch butterflies, this set will represent you in a lively popping way. The typography makes speaking from your heart quick and easy. Our paper is a great value for those looking to get their money’s worth on materials. Since there are two different designs on the paper’s front and back, you get 24 different designs in one package. 
Now you have a variety of options when you get bored.

There are 6 new PreCut Stamp Sets, one 12x12 Paper Collection, and one beautiful new exclusive Spellbinders die designed for Heartfelt Creations. Leave a comment on the HC blog by September 18th and you will be eligible to win the entire release valued at $145.92. 

How beautiful are these colors?!! For this card, I was inspired by Anna's work.

This sentiment is stamped with Archival black ink. The edges are accented with Vintage Photo Distress Ink and topped with Diamond Stickles. The pearls are Kaisercraft.

This image is stamped on patterned paper from the Delicate Asters Collection. I used Prismacolor pencils to add color details.

I love how I can use the patterned paper to help me decide how to color the butterfly! 
Makes my life so much easier.

Thanks for stopping by!
Be sure to check the Heartfelt Creations Blog for more inspiration and your chance to win!

SUPPLIES:
HCPC 3497 Script Aster Background PreCut Set
HCPC 3499 Delicate Asters and Butterflies PreCut Set
HCDP1 226 Delicate Asters Collection
HCD 725 Decorative Metal Fixtures Die
393386 Labels 4
SF03602 Prismacolor Pencil Set 120 pc.

OTHER:
Vintage Photo Distress Ink. Diamond Stickles. Kaisercraft Pearls. Tulle.

INSTRUCTIONS:
Stamp the butterfly and sentiment on white paper. Stamp the collage on patterned paper. Color the collage and butterfly. Cut out all the pieces. Distress and ink the edges of the collage piece. Ink and Stickle the sentiment. Add pearls. Add Stickles to the butterfly. Cut a purple background paper to fit a 6x6 card and mat. Die cut a green piece with Labels 4 and trim the top. Die cut the Decorative Metal Fixture from white cardstock. Cut a wide, narrow trim from the striped paper. Layer the Labels 4, wide strip, collage piece, and use foam adhesive for the sentiment. Adhere the decorative corner and butterfly. Stuff a bit of tulle in the corners of the sentiment. Attach the card front to a 6x6 inch top fold card base.

Wednesday, September 5, 2012

Thank You *Heartfelt Creations* and *Stuck On U Sketches*

Papers from Classic Edition by Heartfelt Creations.

I followed this sketch over at Stuck On U Sketches for today's card. 
Come and join us for a chance to win!

Sentiment stamp from Heartfelt Expressions by Heartfelt Creations. I stamped the sentiment on white cardstock, die cut with a Labels 4 die, and inked with two colors of Distress Inks.

Be sure to check out the blog and the new website for more inspiration!

SUPPLIES:
HCPC 3474 Heartfelt Expressions PreCut Set
393386 Labels 4
HCDP1 224 Classic Edition Paper Collection

OTHER: Brown rick rack. Old Paper and Vintage Photo Distress Inks. Fiskars border punch. Tape for masking. American Crafts- card base.

INSTRUCTIONS: Cut a piece of double sided paper and a mat from the Classic Edition Paper Collection to fit a 4.25 x 5.5 inch top fold card. From the patterned paper, cut a 1.5 inch strip from the short side, reverse the small strip and adhere the two pieces to the mat. You should have one 1.5 pattern at the top and a larger pattern piece at the bottom of the card. Stamp and die cut the sentiment. I used tape to mask the part of the sentiment I didn't need. Use the same Labels 4 die to mask the edges of the stamped die cut and ink. I used two colors of Distress ink- Old Paper and Vintage Photo. Set aside. Use a border punch to cut a trim and adhere to the card. Attach a piece of rick rack. Use foam adhesive to add the stamped die cut. Adhere the card front to a 4.25 x 5.5 inch top fold card base.